type
status
date
slug
summary
tags
category
icon
password
🔘 One-Click Checklist
How to create a one-click checklist using Notion. This includes a free template that can be used for personal or professional tasks. The recurring checklist is designed to simplify the process of adding checklists and completing projects, allowing you to focus on what needs to be done rather than spending time recreating repetitive to-do lists. By following these steps, easily create your own one-click checklists and streamline your workspace.
WHAT IS A RECURRING CHECKLIST?
An example of two recurring checklists look like this:
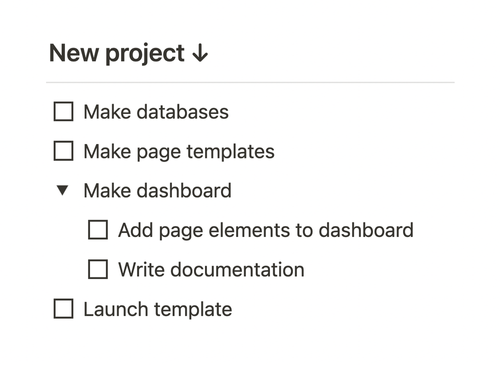
View fullsizeMarkdown checklist
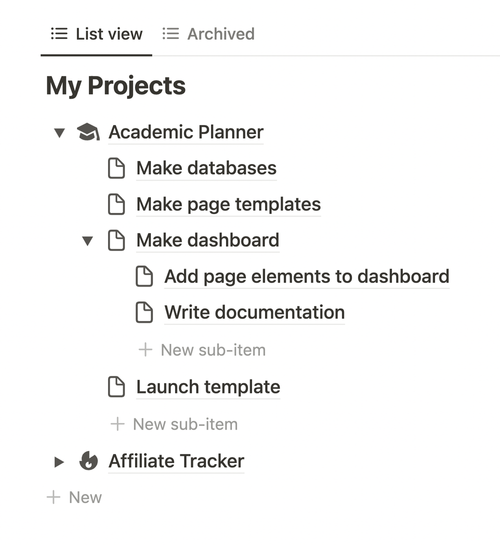
View fullsizeDatabase checklist
Every project can have a series of recurring tasks. Some recurring tasks may change subtly based on the context of the project, or tasks may be added, but there will always be a list of to-dos that look alike for every project.
The following tutorial is how to create projects with recurring checklist items inside a list database.
STEP 1: CREATE A PROJECT DATABASE
Create a database where every project will be located. To create a new list database, trigger /list view.
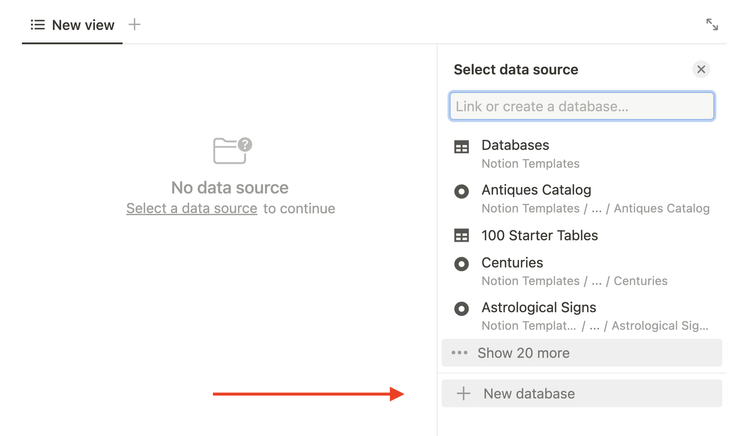
Name the database something like My Projects.

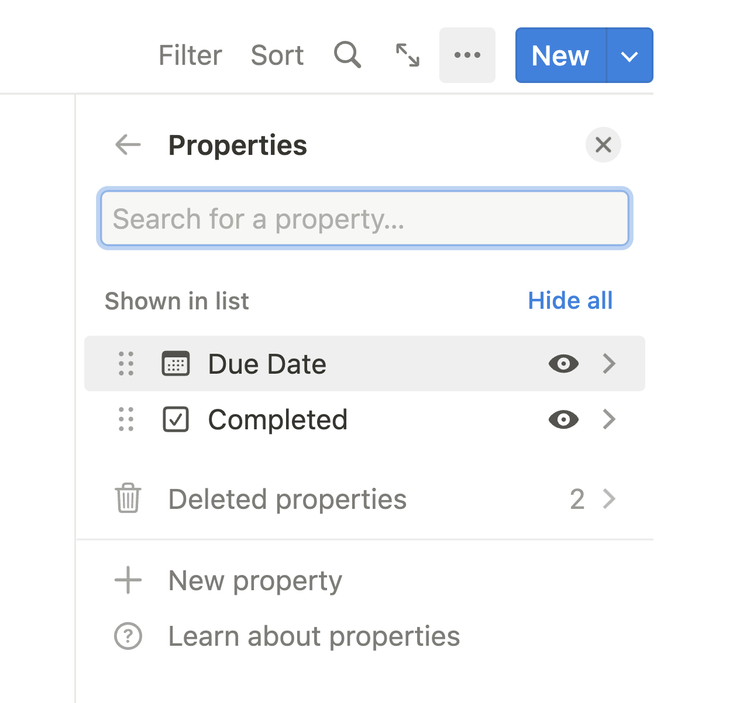
Create properties for your new database via the properties menu option.
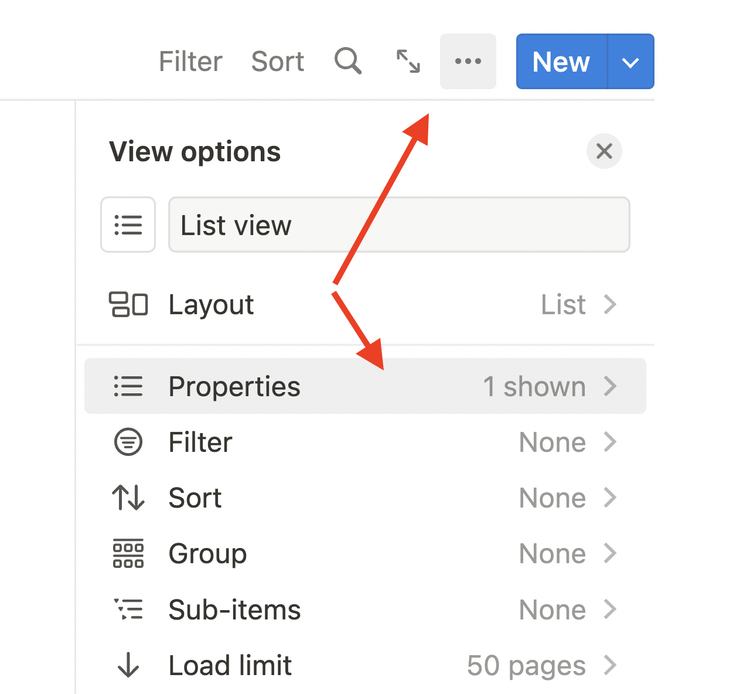
Add two properties for Due Date (Date property) and Completed (Checkbox).
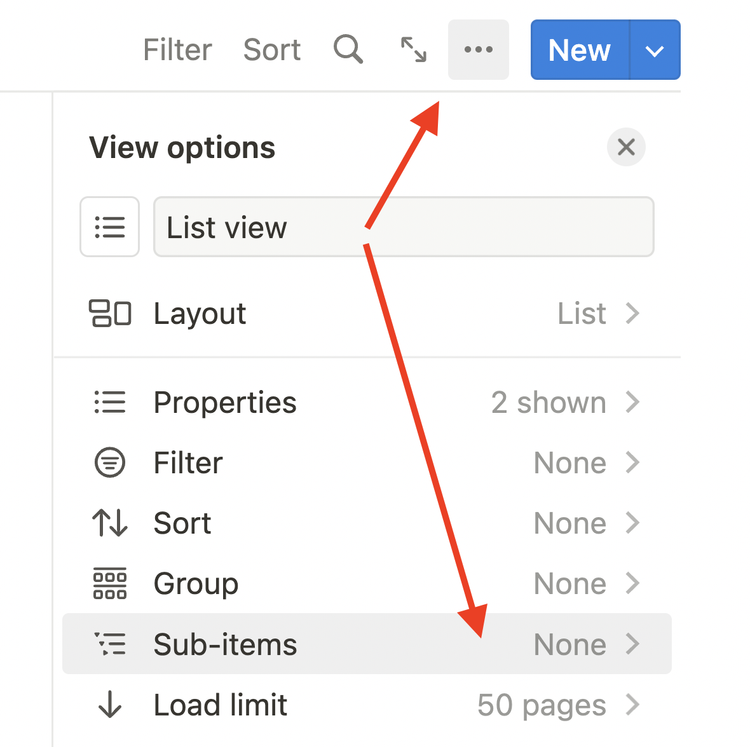
STEP 2: CREATE SUB-ITEMS
Inside the database menu, quickly implement sub-items. Keep the default labels for Parent item and Sub-items. This will make your list database resemble a markdown outline.
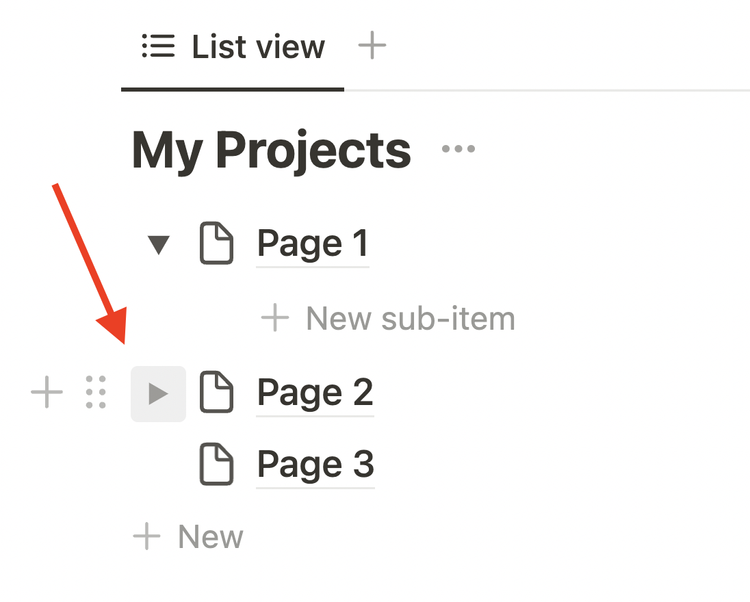
After selecting Create, an invisible toggle will appear next to every page in the list. You can now add sub-items to every task on your list.
STEP 3: BUILD A CHECKLIST BUTTON
Create a button that adds a new Project and recurring Sub-items to the database. To create a new button trigger /button.
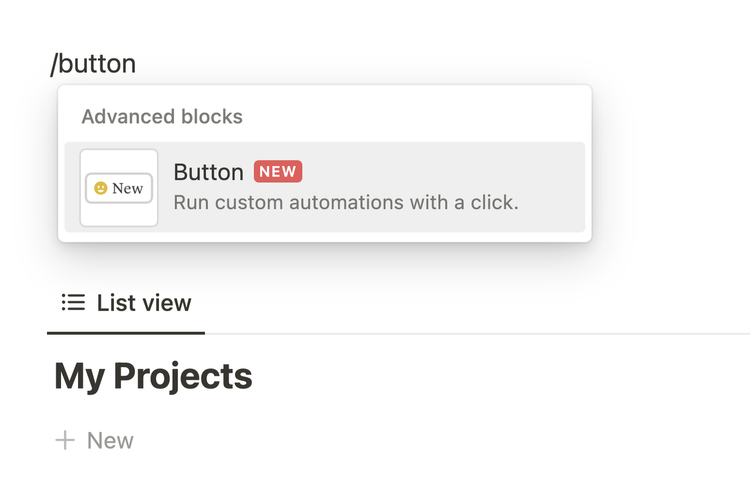
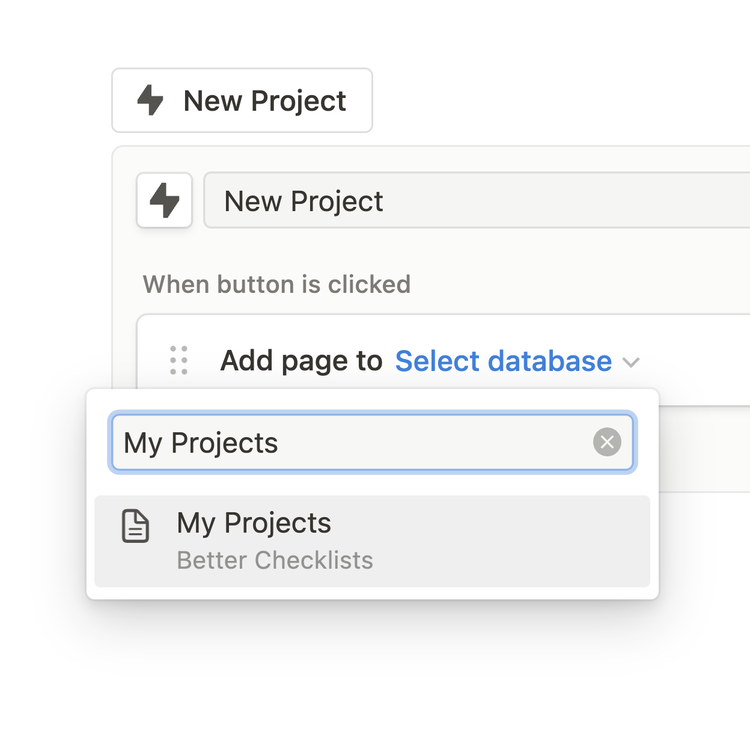
Label it something like New Project. You can give it a custom icon too! The first action will be to add page to the My Projects database.
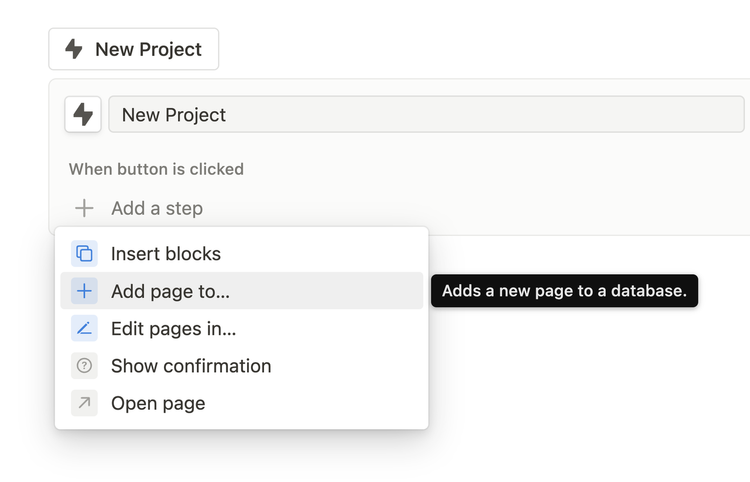
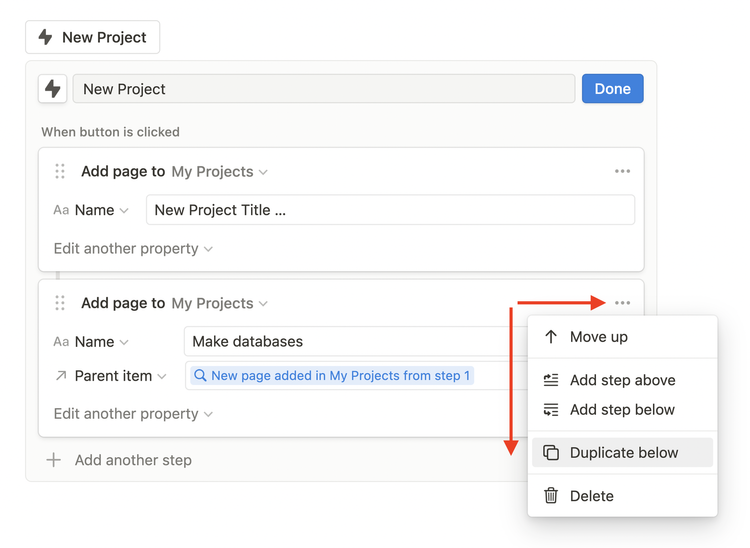
The second action will be to add the first checklist sub-item to the new project.
Edit the Parent item property of this new sub-item, and select the new project page from step 1. This should be the only option with a blue background.
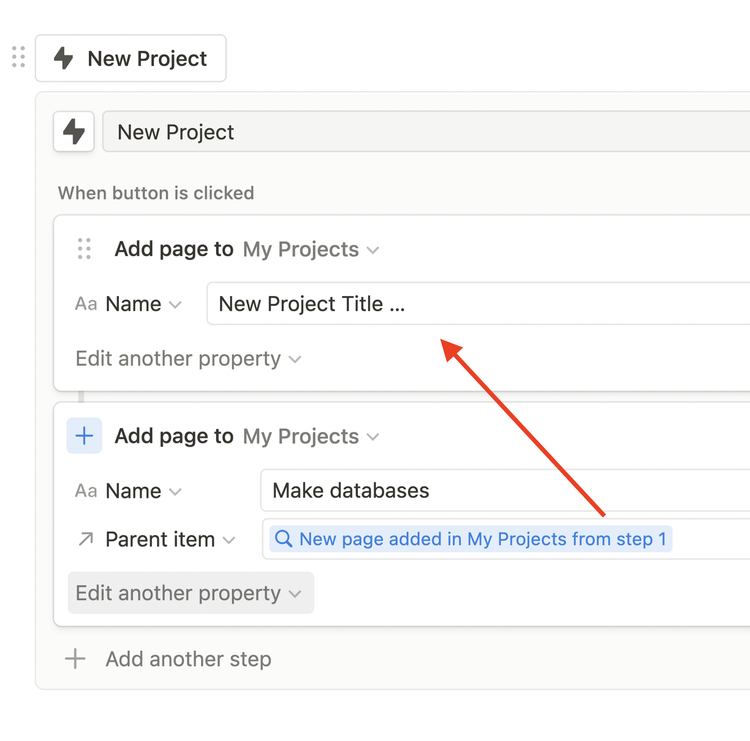
Duplicate the second step to continue adding sub-item checklist to-dos.
View fullsize
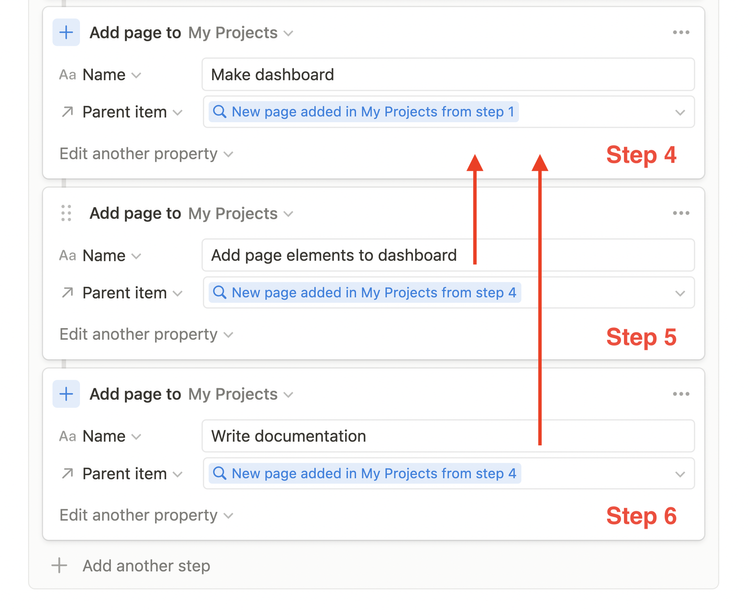
With the same logic, if there is a sub-item that has its own sub-items, modify the Parent item property to point to the appropriate previous step like this:
View fullsize
FINAL: FILTERED VIEWS TO ORGANIZE
In this system, I use a separate button to archive my completed tasks.
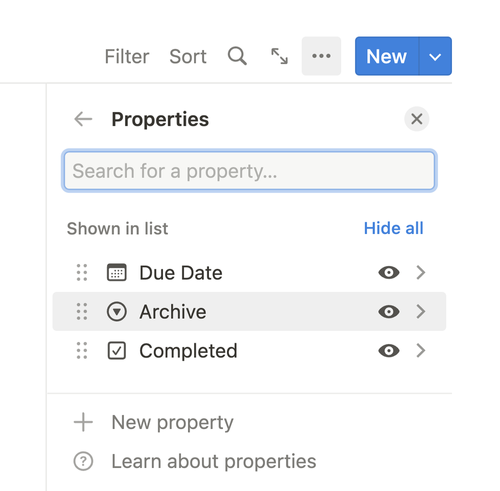
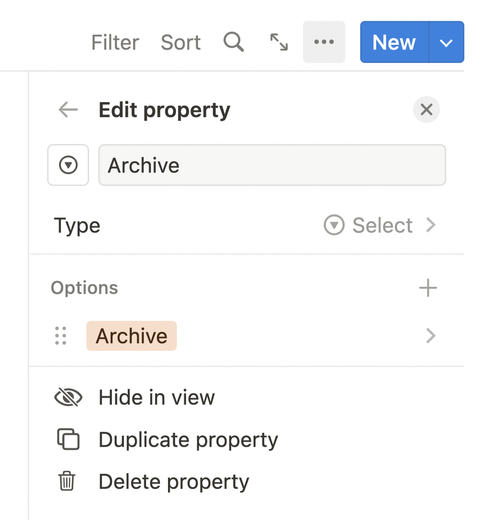
A select property called archive needs to be created to interact with the new button. It has one option called Archive.
View fullsize
View fullsize
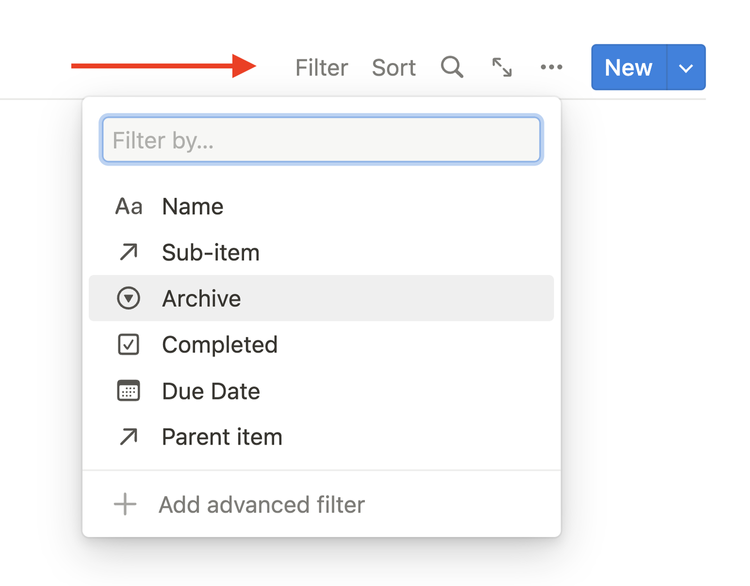
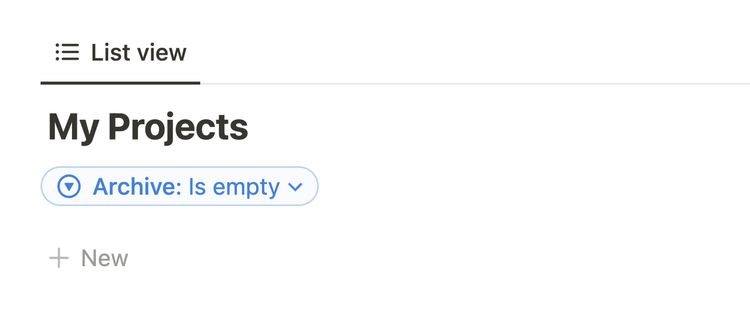
In the database list view, create a filter that states the Archive property is empty.
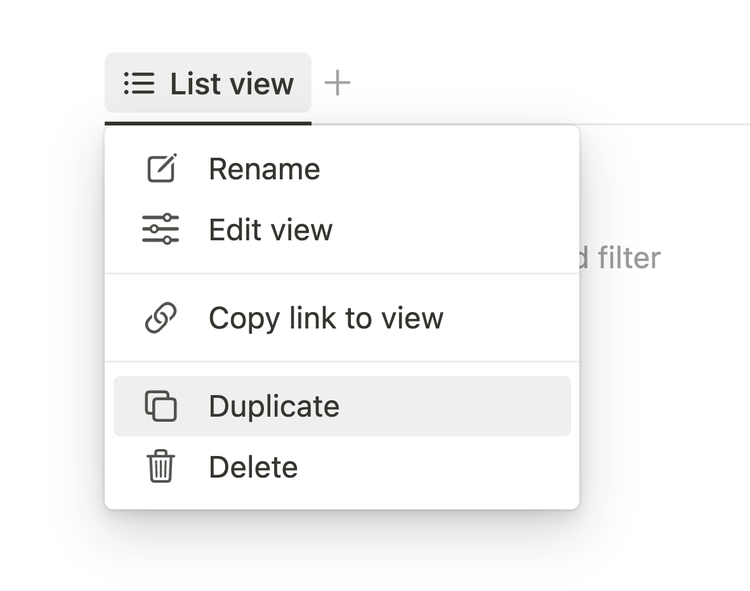
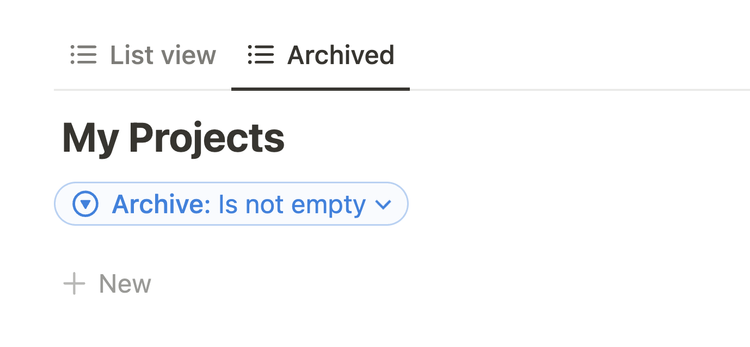
Duplicate the first database view List view and rename the duplication to Archived projects. This filter should be the opposite and state Archive property is not empty.
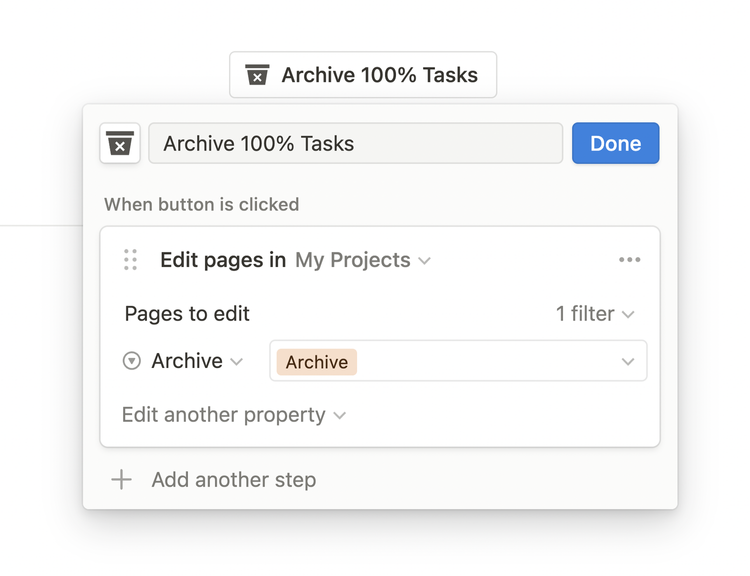
Create a new button called Archive 100% Tasks that will auto-archive all tasks at 100% completion. This requires one step to Edit pages in the My projects database.
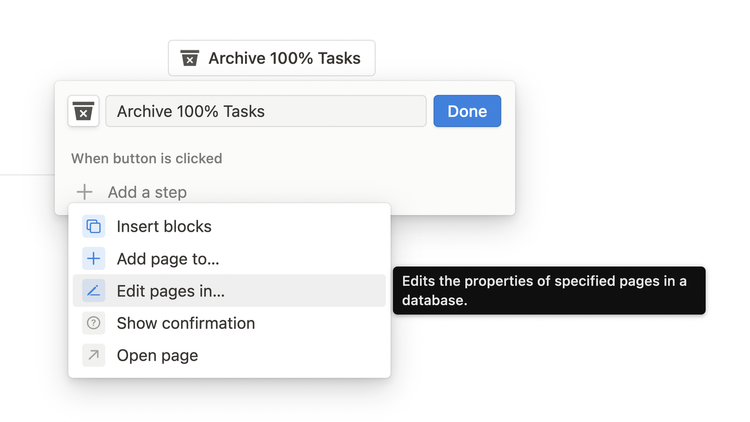
The Edit pages in option allows you to specify what pages to edit in the database with a filter. This filter will only target pages with true Completed properties.
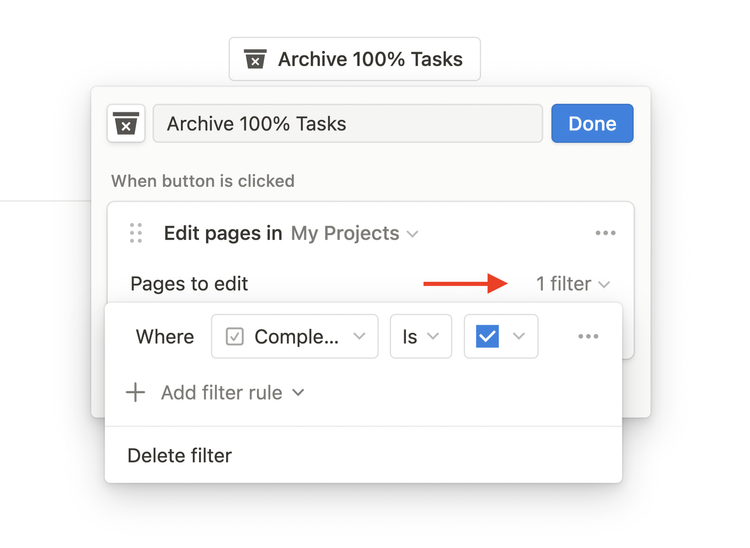
For these targeted pages, add the Archive option for the Archive property.